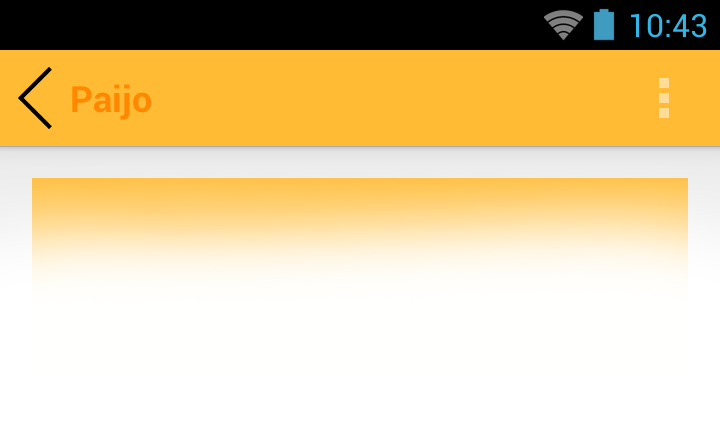
Sebenarnya ada beberapa cara untuk mengcustom ActionBar. Berikut ini adalah salah satu cara yg dapat kita lakukan untuk membuat custom ActionBar dengan style sesuai keinginan kita. Kita bisa membuat ActionBar dengan warna background, maupun warna teks terserah kita pula.
Pada postingan ini, saya menggunakan android:minSdkVersion=”14″
android:targetSdkVersion=”19″
Oke, langsung menuju TKP..
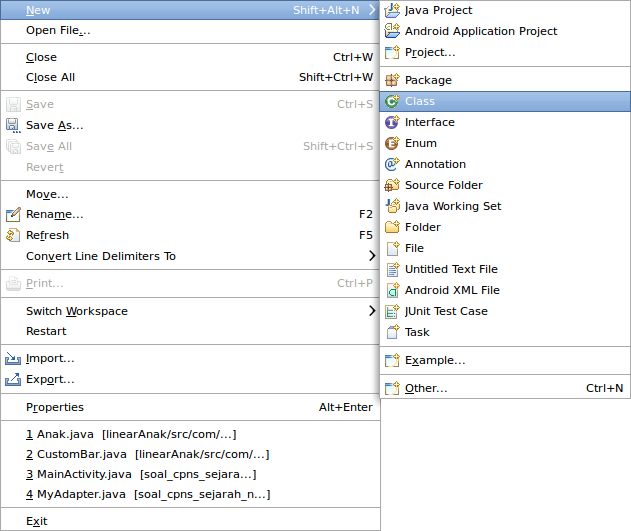
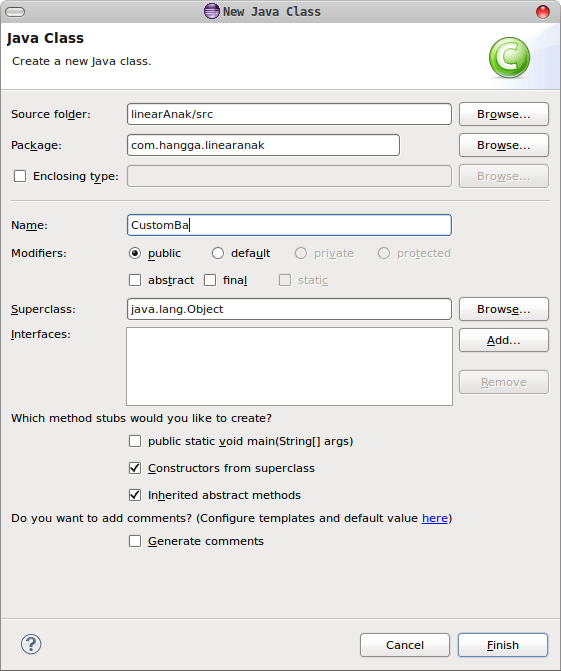
1. Membuat Kelas CustomBar
2. Kemudian membuat xml Layout untuk CustomBar
Disini saya mebuat sebuah layout bernama layout_custom_bar untuk inflatingnya.
<pre class="brush:xml"><?xml version="1.0" encoding="utf-8"?>
<RelativeLayout xmlns:android="http://schemas.android.com/apk/res/android"
    android:layout_width="match_parent"
    android:layout_height="50dp"
    android:background="@android:color/holo_orange_light" >
    <ImageView
        android:id="@+id/imgBack"
        android:layout_width="35dp"
        android:layout_height="35dp"
        android:background="@drawable/img_back"
        android:layout_alignParentLeft="true"
        android:layout_centerVertical="true"/>
    <TextView
        android:id="@+id/txtTitle"
        android:layout_width="wrap_content"
        android:layout_height="wrap_content"
        android:textColor="@android:color/holo_orange_dark"
        android:textSize="18sp"
        android:textStyle="bold"
        android:layout_centerVertical="true"
        android:layout_toRightOf="@+id/imgBack"/>

</RelativeLayout>
3. Customasi di Class CustomBar
package com.hangga.linearanak;

import android.content.Context;
import android.util.AttributeSet;
import android.view.LayoutInflater;
import android.widget.ImageView;
import android.widget.RelativeLayout;
import android.widget.TextView;

public class CustomBar extends RelativeLayout{

	private ImageView imgBack;
	public ImageView getImgBack() {
		return imgBack;
	}

	private TextView txtTitle;

	public CustomBar(Context context) {
		super(context);
		init(context);
		// TODO Auto-generated constructor stub
	}

	public CustomBar(Context context, AttributeSet attrs) {
		super(context, attrs);
		init(context);
		// TODO Auto-generated constructor stub
	}

	public CustomBar(Context context, AttributeSet attrs, int defStyleAttr) {
		super(context, attrs, defStyleAttr);
		init(context);
		// TODO Auto-generated constructor stub
	}

	public void setTitle(String param){
		this.txtTitle.setText(param);
	}

	private void init(Context context){
		LayoutInflater inflater = LayoutInflater.from(context);
		inflater.inflate(R.layout.layout_custom_bar, this);
		imgBack = (ImageView) findViewById(R.id.imgBack);
		txtTitle = (TextView) findViewById(R.id.txtTitle);
	}

}
4. Implementasi di Activity
Tinggal pake di onCreate milik kelas Activity
@Override
 protected void onCreate(Bundle savedInstanceState) {
 super.onCreate(savedInstanceState);
android.app.ActionBar actionBar = getActionBar();

		CustomBar customBar = new CustomBar(getApplicationContext());
		customBar.setTitle("Paijo");

		actionBar.setDisplayShowHomeEnabled(false);
		// menampilkan icon aplikasi

		actionBar.setBackgroundDrawable(getResources().getDrawable(android.R.color.holo_orange_light));
		// agar backgroud sama dg background CustomBar

		actionBar.setCustomView(customBar);

		actionBar.setDisplayShowCustomEnabled(true);
		// mengaktifkan tampilan custom

		setContentView(R.layout.activity_main);
Nah, kemudian untuk membuat action back nya, kita dapat menambahkan script berikut.
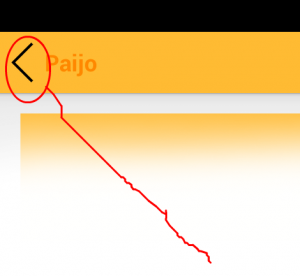
customBar.getImgBack().setOnClickListener(new View.OnClickListener() {

			@Override
			public void onClick(View v) {
				finish();
			}
		});
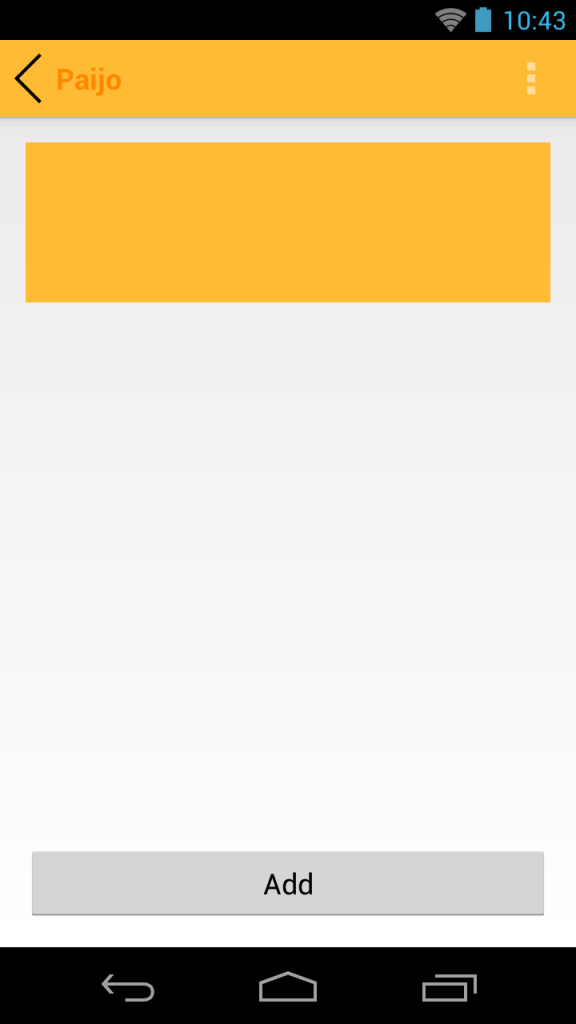
Hasilnya..
 Hangga Aji Sayekti

 ASO(App Store Optimization)